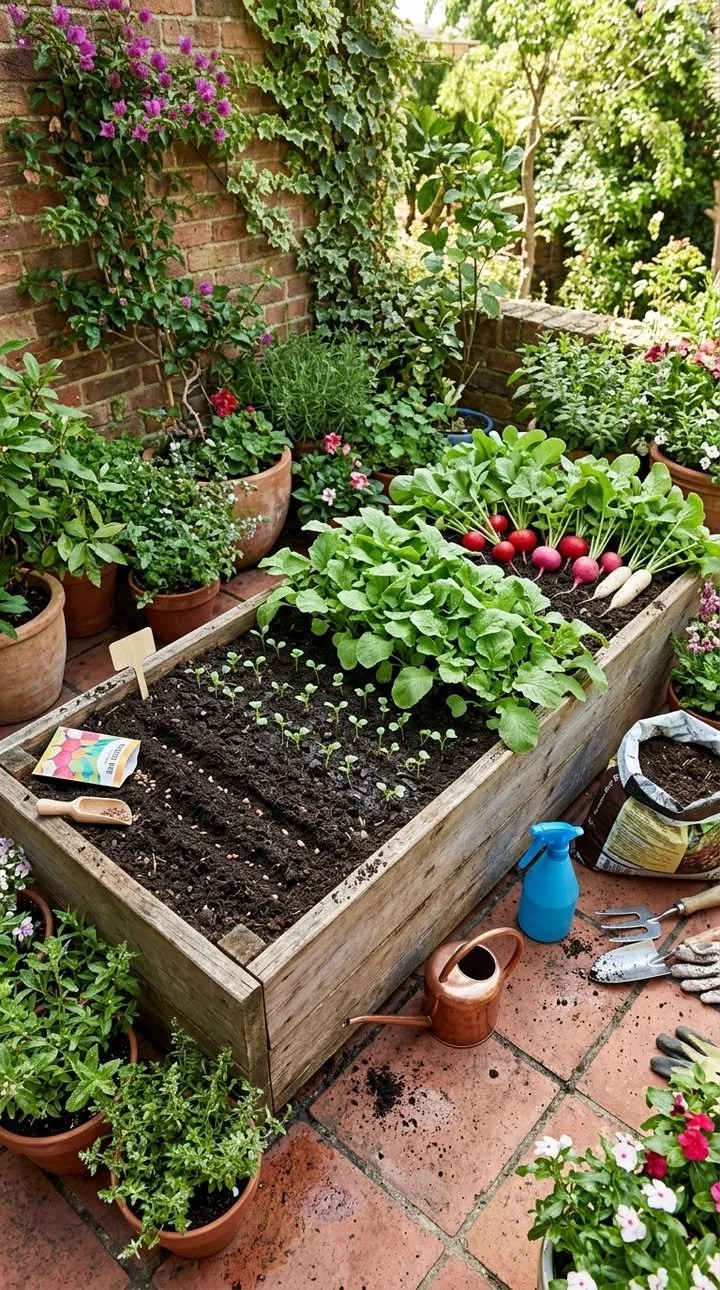
Radishes in Containers: A Beginner’s Root Veg Guide
Have you ever wanted to grow your own vegetables but felt daunted by the lack of space or gardening know-how? If you’re new to gardening and looking for a simple, rewarding crop to start with, you might be surprised to find that radishes are your perfect entry point. These vibrant, peppery little root vegetables are not only delicious but also incredibly easy to grow, even in the tiniest of spaces. Let’s dive into how you can cultivate them in containers!
Why This Works
Radishes are one of the fastest-growing crops, making them perfect for beginners. They thrive in containers, allowing you to maximize even the smallest balcony or patio space. The best part? They’re ready to harvest in as little as three to four weeks! This quick turnaround keeps your gardening enthusiasm high and provides instant gratification.
Getting Started with Radishes in Containers
When it comes to growing radishes in containers, there are a few essential steps you’ll want to follow to ensure a bountiful harvest. Here’s a straightforward guide for you:
1. Choose the Right Container
- Size: Radishes don’t need deep soil, but they do benefit from some space. A container that is at least 6-12 inches deep and 12 inches wide will work well.
- Material: Terracotta, plastic, or metal can all be used, but ensure your container has good drainage holes.
2. Select the Right Soil
Invest in high-quality potting soil that drains well. A mix specifically designed for vegetables can yield the best results. If you’re feeling adventurous, you can enhance your potting soil with compost for added nutrients.
3. Pick Your Radish Variety
There are many types of radishes to choose from, including:
- Cherry Belle: A classic for salads, known for its crisp texture.
- French Breakfast: These have a distinctive shape and mild flavor.
- Daikon: A longer, white variety that’s great for cooking.
Choose a variety that suits your taste and intended use!
4. Sowing Seeds
- Timing: Radishes prefer cooler temperatures. Aim to plant them in early spring or fall.
- Planting: Sow the seeds about ½ inch deep and space them about 1 inch apart. As they grow, thin them out to allow adequate space for each root.
5. Watering and Sunlight
- Watering: Keep the soil consistently moist but not soggy. Radishes need regular watering to grow properly, particularly during hot weather.
- Light: Ensure your containers receive at least 6 hours of sunlight daily. If you’re indoors, a sunny windowsill can work wonders.
Step-by-Step Care for Healthy Radishes
Caring for your container-grown radishes is simple. Here’s what you need to do:
Fertilization: Use a balanced fertilizer once every couple of weeks to boost growth. Avoid over-fertilizing, as this can lead to leafy growth instead of hearty roots.
Pest Control: Keep an eye out for common pests like aphids or flea beetles. If you spot these intruders, a gentle blast of water or an insecticidal soap can help.
Weeding: While weeds are less of a problem in containers, be vigilant. They compete for nutrients and should be removed as soon as you see them.
Expected Results
In just a few weeks, you’ll start to see your radishes bulging just above the soil line. At this point, they’re almost ready to harvest! When they reach about an inch in diameter, it’s time to enjoy the fruits of your labor. Pull them gently from the soil, rinse, and enjoy them raw, in salads, or even roasted.
Extra Tips for a Successful Radish Crop
- Companion Planting: Consider growing radishes alongside other plants, such as lettuce and spinach, which flourish with them.
- Experimenting: Radishes can be sown in succession for continuous harvests. Try planting small batches every few weeks.
- Storage: Keep harvested radishes in the fridge to maintain their crunch for a week or two.
Conclusion
Growing radishes in containers is not only a fun and engaging gardening project, but it also yields delicious and nutritious results. By following these simple steps, you’ll be well on your way to enjoying a bountiful harvest of homegrown radishes. So roll up your sleeves, gather your supplies, and get started on this rewarding journey – your taste buds will thank you! Happy gardening!