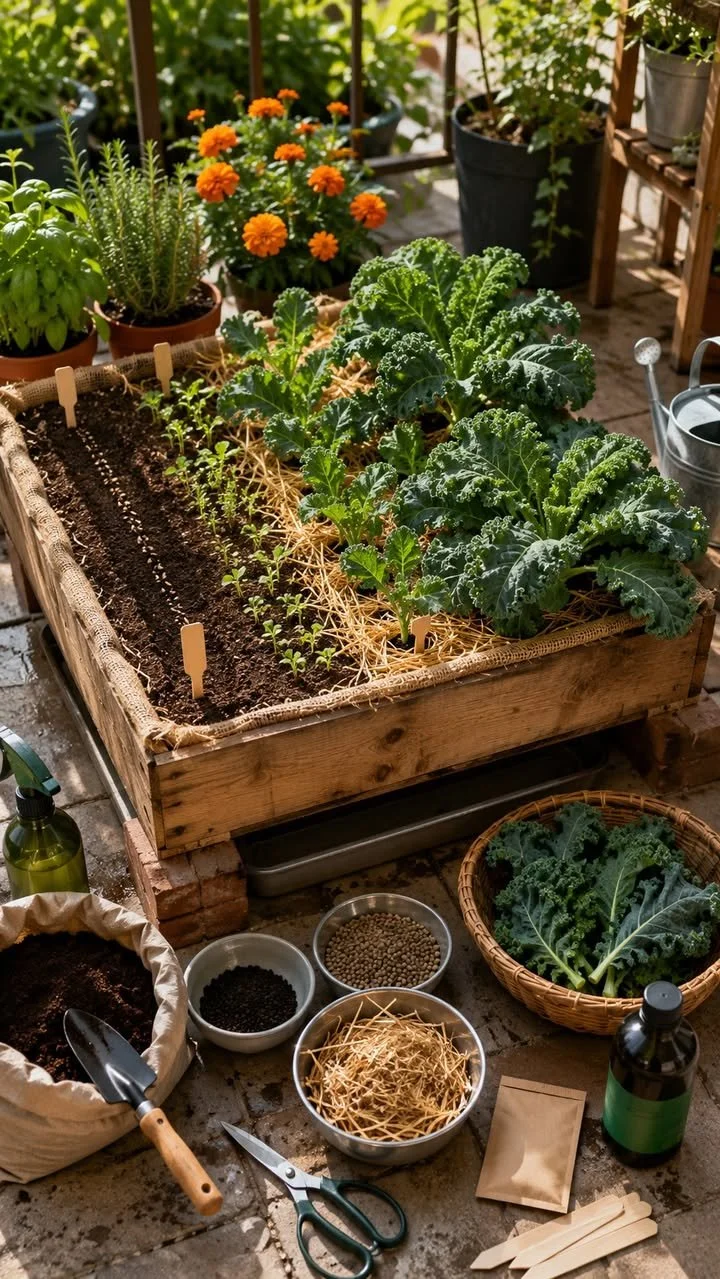
Kale Crate Project: Sustainable Greens at Home
Growing your own leafy greens is a fulfilling journey that not only nourishes your body but also the planet. Imagine enjoying fresh, nutritious vegetables right from your balcony or patio all year round! One of the easiest and most resourceful methods to cultivate kale is by using wooden crates. This approach is perfect for anyone with limited gardening space, urban dwellers, or those seeking a low-cost, eco-friendly gardening option. With some planning and care, you can transform an ordinary crate into a thriving kale patch at home.
Why Choose Kale?
Kale is often hailed as a "superfood," and for good reason. It’s packed with vitamins A, C, and K, along with essential minerals like calcium and iron, and is loaded with antioxidants. This cool-season crop adapts well to container gardening, particularly when provided with nutrient-rich soil and consistent care. Moreover, kale’s relatively pest-resistant nature and ability to tolerate mild frost make it a reliable option for growing through different seasons.
Selecting and Preparing Your Crate
Start with a wooden crate that has a minimum depth of 25 cm and enough width to accommodate several kale seedlings. Old fruit or wine crates can be ideal if they are untreated and free from harmful chemicals. To enhance the longevity of the crate, you can apply a food-safe sealant or non-toxic paint on the outside, but avoid sealing the interior to maintain soil health and proper drainage.
Line the bottom of your crate with landscape fabric, burlap, or even old newspapers to prevent soil loss while allowing water to drain. If your crate doesn’t already have sufficient drainage holes, drill a few additional ones at the bottom. Placing your crate on bricks or a tray can also help prevent wood rot and provide better airflow.
Soil and Fertilizer
Kale thrives in rich, well-draining soil with a pH level between 6.0 and 7.5. An effective mix for your crate should consist of 50% garden soil, 30% compost, and 20% coco peat or perlite for improved aeration and moisture retention. Before planting, integrate organic fertilizers like aged manure, worm castings, or slow-release granules into the mix to set a solid nutritional groundwork.
Top off your crate with about 20–25 cm of this configuration. Consider adding more compost regularly or as necessary to sustain soil fertility. Liquid fertilizers like seaweed extract or compost tea can enhance plant vigor if applied every two weeks.
Planting Kale
You can either start kale from seeds or purchase young transplants. If you opt for seeds, sow them about 1 cm deep and maintain a spacing of 10–15 cm between them. Lightly cover with soil and water gently. Germination typically occurs within 5–10 days. For seedlings, transplant them at the same spacing to ensure adequate room for growth.
Position your crate in a spot that receives 4–6 hours of sunlight daily. While kale prefers cooler weather, providing partial shade in the afternoon can protect it in hotter climates.
Watering and Maintenance
Maintaining consistent moisture is crucial for healthy kale growth. As crates dry out faster than traditional garden beds, monitor moisture levels daily, especially in warmer conditions. Early morning watering is recommended to preclude diseases and allow the foliage to dry completely by evening.
Applying mulch made from straw or dried leaves on top of the soil can help retain moisture and suppress weed growth. Keeping an eye out for weeds and removing them promptly, along with trimming yellow or damaged leaves, also encourages healthy plant development.
Pest Control the Natural Way
Kale is quite resilient, but it’s not entirely invulnerable. It can attract pests like aphids, cabbage worms, and flea beetles. Inspect the undersides of leaves regularly and hand-pick any visible pests. To control infestations, consider natural remedies such as neem oil spray, garlic chili solution, or insecticidal soap.
Companion planting with herbs like basil, thyme, or rosemary can also deter pests. Additionally, including marigolds or nasturtiums nearby serves as trap crops, luring pests away from your kale.
Harvesting Your Greens
Kale can be harvested approximately 60 days after sowing, though you can begin picking baby leaves as early as 30 days. Use the "cut-and-come-again" technique by selectively harvesting the outer leaves while leaving the central rosette intact to continue producing new growth.
Regular harvesting not only promotes the plant’s production of more leaves but also ensures that you enjoy multiple harvests over the season, especially during cooler weather.
The Benefits of Crate Gardening
Growing kale in crates presents numerous advantages, including:
- Space Efficiency: Perfect for balconies, patios, or limited garden areas.
- Mobility: Easily relocate crates to optimize sunlight exposure or protect plants from adverse weather.
- Sustainability: Reuse materials and minimize the carbon footprint associated with food transport.
- Accessibility: Ideal for novice gardeners and individuals with physical limitations.
From Crate to Plate
Once harvested, kale is incredibly versatile and can contribute to a myriad of dishes—from vibrant salads and nutrient-packed smoothies to energizing stir-fries and hearty soups. The joy of eating fresh produce that you’ve cultivated yourself enhances the flavor of every meal.
Whether your goals include self-sufficiency, slashing grocery bills, or simply enjoying the peaceful process of growing food, the kale crate project offers a straightforward and sustainable way to introduce fresh greens into your life. With minimal effort and resources, you can savor the pleasure of organic kale harvested right from your backyard or balcony. Enjoy your sustainable journey into home gardening!