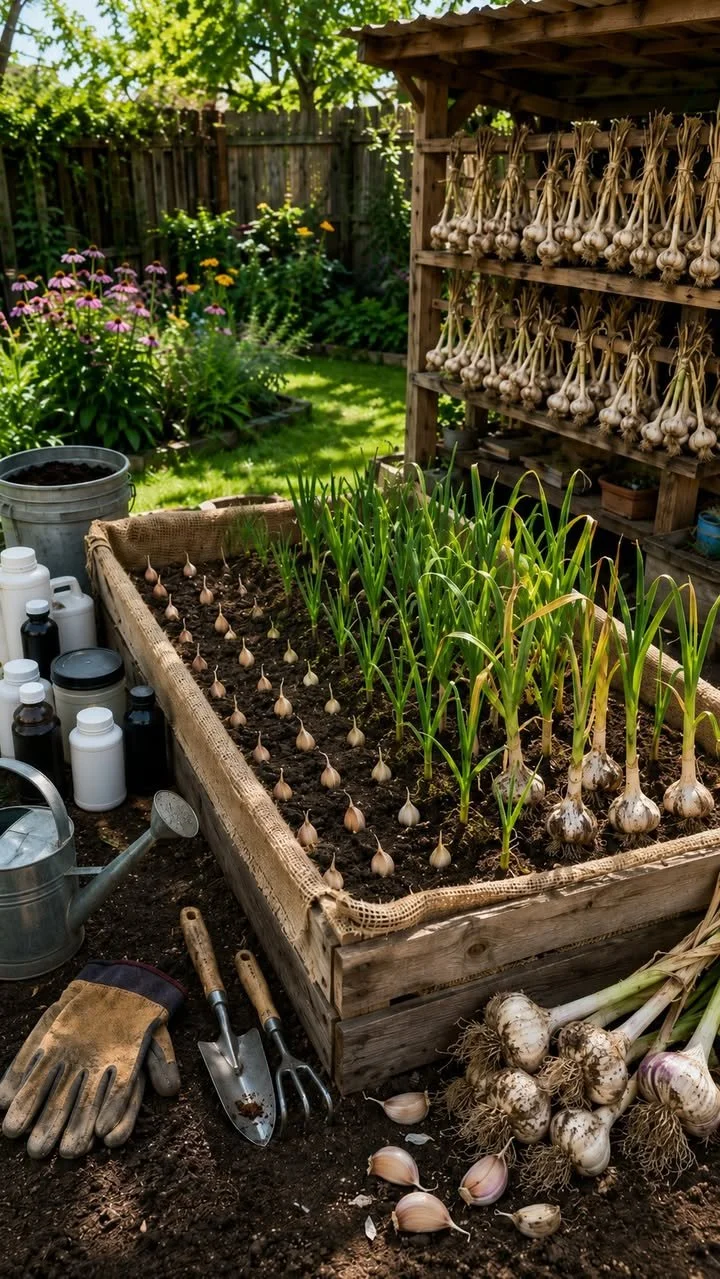
DIY Crate Setup for Fresh Backyard Garlic
Growing garlic at home doesn’t require a large garden or fancy equipment. With a simple wooden crate and the right planting method, you can enjoy fresh, flavorful garlic straight from your backyard. This guide walks you through how to prepare a crate for garlic planting, from choosing the right cloves to harvesting your own crop.
Choosing the Right Garlic and Crate
Start with healthy garlic bulbs. Choose firm, organic garlic heads with no signs of mold or softness. Avoid supermarket garlic that has been treated to prevent sprouting. Hardneck varieties are ideal for cooler climates, while softneck garlic does well in warmer regions.
Select a sturdy wooden crate that offers good drainage. The crate should be at least 20 cm (8 inches) deep to give the garlic roots space to grow. If the crate has wide gaps at the bottom, line it with breathable fabric like burlap or a mesh screen to hold the soil in place while still allowing excess water to drain.
Preparing the Planting Mix
Garlic thrives in light, well-draining soil rich in organic matter. To prepare the planting mix, combine:
- 40% garden soil
- 40% compost or well-rotted manure
- 20% sand or coco peat
This blend ensures the crate doesn’t retain too much moisture, which can cause cloves to rot. Mix the components thoroughly and fill the crate, leaving about 2–3 cm from the top.
Separating and Planting the Cloves
Before planting, separate the garlic bulb into individual cloves. Do not peel the cloves or remove their protective skins, as these shield the garlic during the initial growth phase. Choose the largest cloves for planting—they’ll produce the biggest bulbs.
Plant each clove upright, with the pointed tip facing up and the flat root end down. Space them about 10–12 cm apart and plant them 5 cm deep. If your crate allows, you can stagger rows to maximize space while maintaining airflow.
Watering and Sunlight Needs
Garlic requires consistent moisture, especially during the first few weeks as it establishes roots. Water the crate gently to avoid dislodging the cloves. Keep the soil moist but not soggy. Overwatering can lead to fungal diseases and bulb rot.
Place the crate in a location that gets at least 6–8 hours of sunlight per day. Garlic loves full sun and will grow best when exposed to consistent daylight. If you’re using a crate on a patio or balcony, rotate it every few days for even sun exposure.
Fertilizing During Growth
To encourage strong garlic development, feed the plants every few weeks with a diluted organic fertilizer such as fish emulsion, seaweed extract, or compost tea. These fertilizers add essential nutrients without overwhelming the plants with synthetic chemicals.
When the garlic begins forming bulbs—usually after a couple of months—you can reduce feeding and watering gradually. This helps the bulbs mature and the skins to dry out.
Managing Pests and Diseases
Crate planting naturally reduces the chances of soil-borne diseases, but some issues can still occur. Keep an eye out for:
- Yellowing or drooping leaves, which may indicate overwatering or fungal infection
- Aphids or mites, which can be removed with neem oil spray or a blast of water
- Mold on the soil surface, which suggests poor drainage or excessive moisture
Avoid overcrowding and ensure good air circulation around the crate. This will help prevent fungal problems and keep the garlic healthy.
Harvesting Your Garlic
Garlic typically takes 6–8 months to mature. You’ll know it’s ready to harvest when the lower leaves turn yellow and dry, while a few green leaves remain on top. Loosen the soil gently and pull the bulbs out by the base.
Do not wash the bulbs right away. Shake off any excess soil and let them cure in a dry, shady, and well-ventilated area for 2–3 weeks. This drying period allows the skins to tighten and helps the garlic store longer.
Once cured, trim the roots and cut the stems or braid them if you prefer a traditional look. Store the garlic in a cool, dry place away from direct sunlight.
Final Tips
- Plant garlic in the fall for a summer harvest, or in early spring for a late summer yield.
- Rotate crops yearly and avoid reusing the same soil to minimize disease risks.
- Replant the largest cloves from your harvest to maintain a steady supply of strong garlic year after year.
By using a simple crate and organic materials, you can grow your own garlic at home—saving money, improving your meals, and enjoying the satisfaction of homegrown produce.