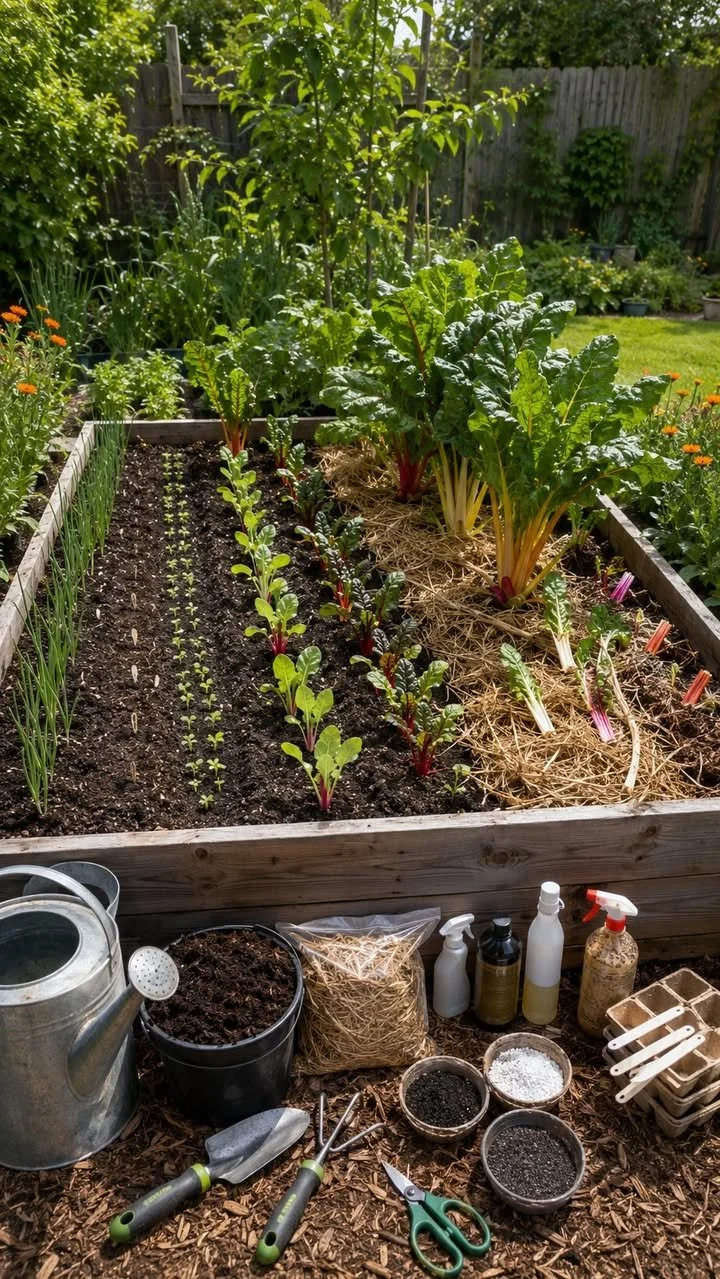
Chard in Wooden Beds: Grow it with Ease Outdoors
If you’ve ever dreamt of a bountiful garden filled with vibrant greens, you’re not alone. Many gardening enthusiasts struggle to cultivate healthy plants, especially leafy greens like chard that require specific conditions for optimum growth. Imagine strolling through your outdoor space, picking fresh chard for your salads or sautés, all while knowing you did it with minimal effort. Excited? Let’s dive into how to grow chard in wooden beds effortlessly!
Why This Works
Chard is a resilient and versatile vegetable that thrives in various conditions, making it a favorite for gardeners of all levels. Wooden beds offer a unique advantage: they provide warmth, excellent drainage, and a structured space for your plants, which can lead to healthier growth and quicker harvests. By understanding the optimal conditions for chard and utilizing wooden beds, you can significantly ease the gardening process while enjoying the fruits of your labor!
Preparing Your Wooden Bed for Chard
1. Selecting the Right Location
Choose a spot in your garden that receives at least 6 hours of sunlight daily. This is crucial, as chard loves the sun. Look for a location with good drainage to prevent waterlogging, which can rot the roots.
2. Building Your Wooden Bed
Constructing a wooden bed is simpler than you think! Here’s a quick guide:
- Use rot-resistant wood, such as cedar or redwood.
- Aim for a bed that is at least 12 inches deep to allow ample root growth.
- Make it 4 feet wide to make harvesting easy without stepping on the soil.
- Ensure the length fits your available space, typically between 4 to 8 feet long.
3. Soil Preparation
Chard thrives in rich, well-drained soil. Mix the following to prepare your bed:
- Compost: Incorporate 1 part compost for nutrients.
- Topsoil: Add 2 parts topsoil for structure.
- Sand: Including 1 part sand helps with drainage.
- Adjust pH to around 6.0 to 6.8 for optimal growth.
Planting Your Chard
1. Seeds or Seedlings?
You can start chard from seeds or buy seedlings. If you choose seeds, plant them 1 inch apart in rows spaced 12 inches apart. Cover them lightly with soil and water gently. If using seedlings, transplant them with enough space to grow, about 12 inches apart.
2. Watering
Chard prefers consistently moist soil, especially during germination. Water your plants regularly, aiming for about an inch of water per week. Mulching around the plants can help retain moisture and suppress weeds.
3. Fertilization
Feed your chard plants with a balanced fertilizer every 4-6 weeks. Look for organic options to promote healthy growth without the risk of chemical residues in your veggies.
Caring for Your Chard
1. Weeding
Keep your wooden bed free of weeds, as they can compete for nutrients and water. Hand-pull weeds when they are small, or use organic mulch to suppress growth.
2. Pests and Diseases
Chard is generally pest-resistant, but keep an eye out for aphids and leaf miners. If detected, you can rinse them off with water or introduce beneficial insects like ladybugs.
Expected Results
If you follow these steps, you’ll likely enjoy a robust crop of chard in as little as 6-8 weeks. By maintaining consistency in care, you’re not just guaranteed a great yield; you’re also fostering a thriving garden ecosystem.
Extra Tips for Success
- Succession Planting: To enjoy a continuous supply of chard, consider planting seeds every few weeks.
- Companion Planting: Plant chard alongside herbs like basil or flowers like marigolds to deter pests and enhance garden health.
Conclusion
Growing chard in wooden beds can transform your outdoor gardening experience. With warmth, support, and careful attention to your plants, you’ll reap the rewards of fresh, delicious greens right from your backyard. So gather your tools and get started—delicious homegrown chard is just a few weeks away! Happy gardening!