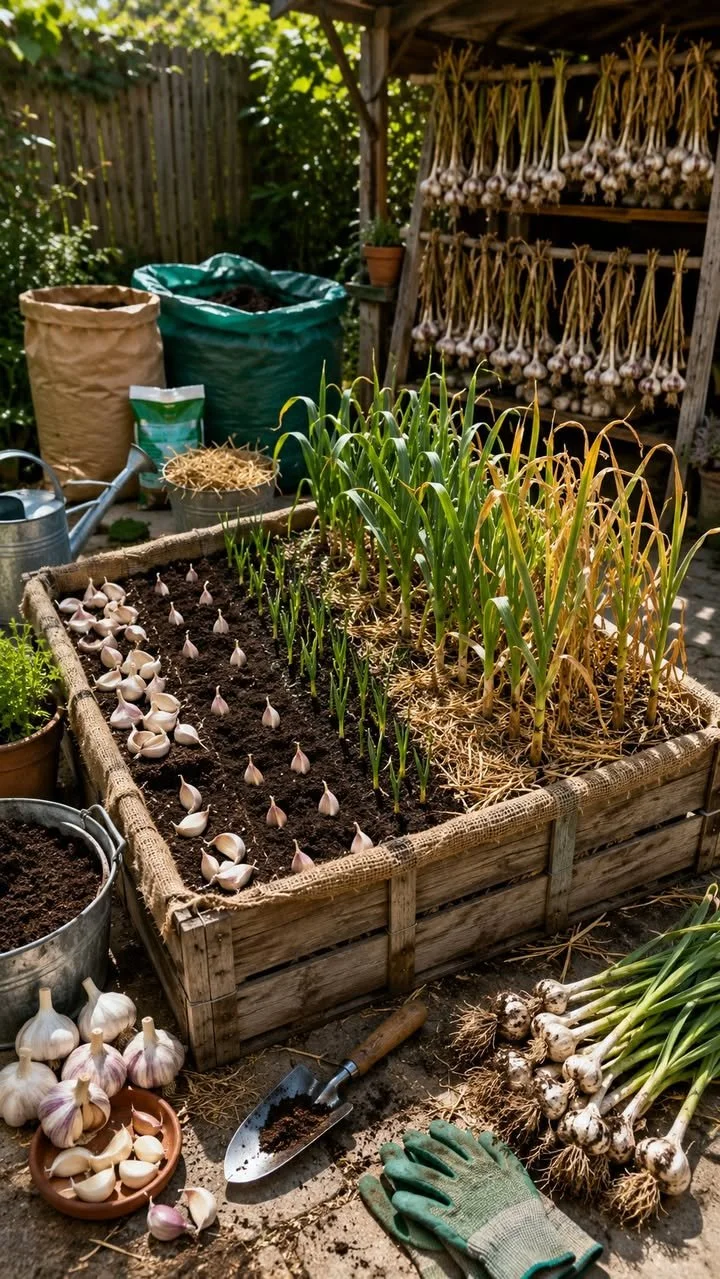
Unlock the Secrets to Harvesting Garlic from Your Own Backyard Crates!
Are you dreaming of homegrown garlic, bursting with flavor and free from harmful chemicals? The secret to a thriving garden may be simpler than you think! With just a few crates and some basic knowledge, you can plant garlic in your backyard and enjoy the tasty rewards. Discover how easy and satisfying it is to cultivate your very own garlic right at home!
Why This Method Works
Planting garlic in crates is not only innovative but also highly effective. Using crates allows for excellent drainage, prevents the growth of weeds, and creates a manageable space for a bountiful crop. Plus, this method is perfect for those with limited ground space, making it accessible for city dwellers and those with small yards. This step-by-step guide will walk you through the entire process, ensuring you reap the benefits of your hard work!
Step-by-Step Guide to Planting Garlic in Crates
1. Choosing Your Garlic
Start by selecting garlic bulbs suited to your climate. Look for high-quality, organic garlic from local farmers or a trusted garden center. Hardneck varieties tend to do well in cooler climates, while softneck works best in warmer areas.
2. Preparing Your Crates
Select sturdy crates that allow for drainage. Wooden crates or plastic crates with holes work well. Fill them with a nutrient-rich potting mix. Make sure the mix is well-aerated to ensure proper drainage.
3. Planting the Garlic Cloves
- Separate the Cloves: Break the garlic bulbs into individual cloves, keeping the papery skins intact.
- Planting Depth: Plant each clove with the pointed end facing upwards, about 2 inches deep. Space them 4-6 inches apart to give each bulb enough room to grow.
4. Watering Your Garlic
After planting, water the crates thoroughly but ensure they don’t stay soggy. Garlic prefers soil that is moist but not waterlogged. Water regularly, especially during dry spells, but allow the top inch of soil to dry out between waterings.
5. Mulching
Apply a layer of mulch over the top of the soil. This helps retain moisture, suppress weeds, and regulate soil temperature. Straw, shredded leaves, or grass clippings work great as mulch options.
6. Monitoring Growth
As your garlic begins to sprout, keep an eye on its progress. Garlic typically grows best in cooler weather, so it’s essential to monitor for any signs of distress, such as yellowing leaves or pest infestations.
7. Harvesting Your Garlic
Garlic is ready for harvest when the lower leaves start to yellow and die off, which usually occurs late summer to early fall. Carefully lift the bulbs from the crates using a fork or spade, being sure not to damage them.
Expected Results
By following this guide, you can look forward to a vibrant garlic crop that will not only enhance your cooking but also provide a fulfilling gardening experience. Enjoy the satisfaction of growing something from scratch and impress your friends and family with your garden-fresh garlic!
Extra Tips for Successful Garlic Growth
- Fertilization: Feed your garlic with a balanced fertilizer high in potassium and phosphorus to encourage bulb growth.
- Avoiding Pests: Keep an eye out for common pests, such as aphids and snails. A simple garlic spray can protect your plants without the use of chemicals.
- Storing Garlic: Once harvested, allow garlic to cure in a cool, dry place for a few weeks before storing it in mesh bags or open containers, ensuring it remains dry and airy.
Conclusion
Planting garlic in crates is an accessible and rewarding endeavor for any gardener. Not only does it maximize space, but it also provides a sustainable source of one of the most beloved cooking ingredients. So gather your crates, select the best garlic cloves, and embark on your gardening adventure! You’ll be amazed at how easy and enjoyable it is to cultivate delicious garlic right in your own backyard. Happy gardening!