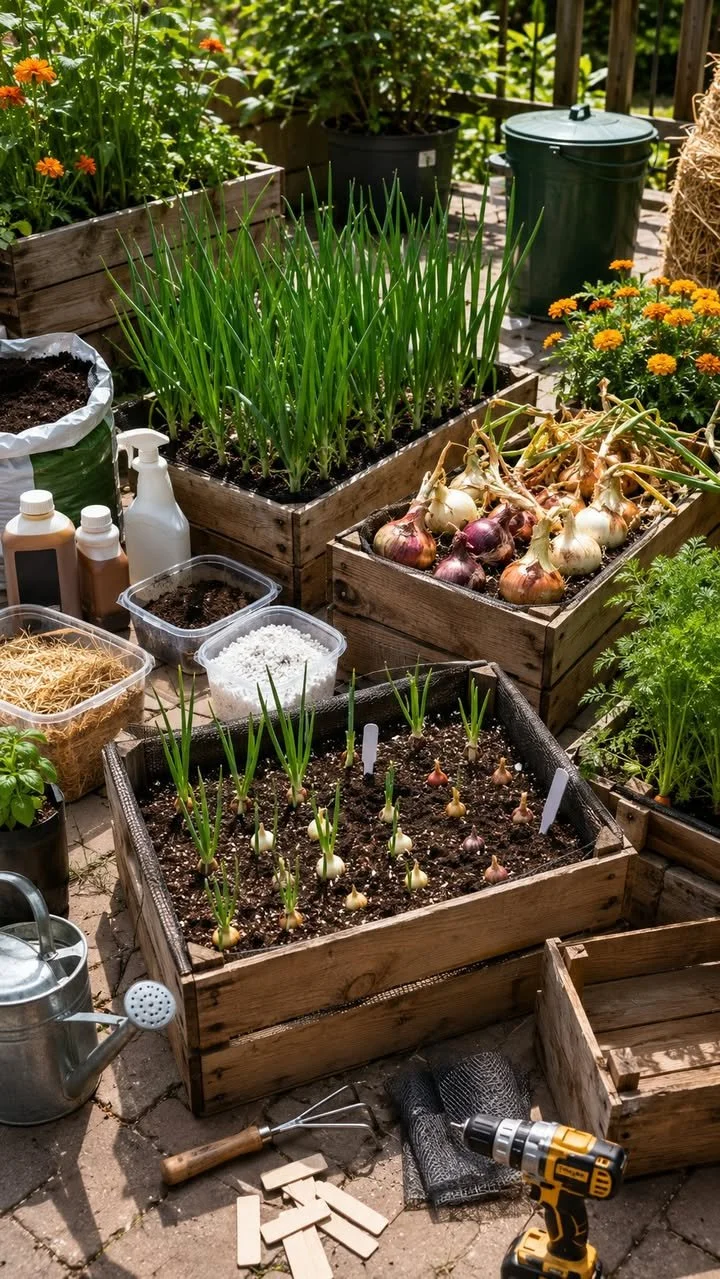
Crate Gardening for Green and Bulb Onions: Your Complete Guide
Are you tired of paying too much for fresh green and bulb onions at the grocery store? Maybe you’ve thought about growing your own, but lack outdoor space or a garden. What if I told you that crate gardening might be the answer you’re looking for? Compact, easy-to-manage, and surprisingly effective, crate gardening can transform your kitchen scraps into a flourishing bounty of onions. Let’s dive into this exciting method that not only saves you money but also brings freshness right to your kitchen door!
Why Crate Gardening Works
Crate gardening utilizes vertical space and is perfect for growing onions. The crates allow for optimal drainage and air circulation, key elements for healthy root development. Plus, they can be placed on balconies, patios, or even within your kitchen—making it accessible for everyone, regardless of gardening experience. This method also encourages you to recycle and upcycle, making it eco-friendly!
How to Start Crate Gardening for Onions
Step 1: Gather Your Supplies
To begin your crate gardening journey, you’ll need a few supplies:
- Crates: Wooden or plastic—whatever you can find! Make sure they are clean and have drainage holes.
- Potting mix: A good quality potting mix ensures your onions have the nutrients they need to thrive.
- Onion sets or seeds: Decide if you want to grow green onions (scallions) or bulb onions. Both work well in crates.
Step 2: Prepare Your Crate
- Clean the crate: Rinse it out to remove any debris or contaminants.
- Add drainage: If your crate doesn’t have drainage holes, drill some in the bottom.
- Fill with potting mix: Leave about an inch of space at the top for water retention.
Step 3: Plant Your Onions
For Green Onions: Simply place the onion sets or seeds about 1-2 inches apart in the potting mix. Keep them just beneath the surface.
For Bulb Onions: If you’re starting from bulbs, plant them with the pointy side up, spacing them around 4-6 inches apart.
Step 4: Water Wisely
Keep the soil consistently moist but not soggy. A gentle watering once or twice a week is ideal, depending on your climate. Remember to adjust based on rainfall and humidity.
Step 5: Sunlight and Temperature
Place your crate in a sunny spot where it receives at least 6 hours of sunlight daily. Onions prefer a cool temperature, ideally between 65°F and 75°F.
Step 6: Maintenance
- Fertilization: Use a balanced fertilizer every few weeks to nourish your growing onions.
- Weeding: Regularly check for weeds to ensure they don’t compete with your onions for nutrients.
- Pest Control: Keep an eye out for pests. Using organic pest control options can help keep unwanted insects at bay.
Expected Results
As you nurture your crate garden, you can expect to see green shoots emerging within a couple of weeks. Green onions can be harvested within about 6-8 weeks, while bulb onions may take a bit longer, around 90-120 days. The satisfaction of growing your own food and saving money will be worth the wait!
Extra Tips for Success
- Companion Planting: Consider planting herbs like basil or mint alongside your onions. They’re known to thrive in the same conditions and can deter pests.
- Rotation: To keep your soil nutrient-rich, practice crop rotation each season. This means planting different crops in the same crate year after year.
Conclusion
Crate gardening for green and bulb onions is not only fun but also a practical solution for urban dwellers and gardening enthusiasts alike. You’ll save money, reduce waste, and enjoy the delicious taste of freshly harvested onions right from your home. So grab your crates and get started—you’re about to embark on a rewarding gardening adventure that brings both joy and abundance! Happy gardening!