1")
Wow, blast from the past. I remember these from going to bridal teas, spring tea at school, and at funerals. My mother in law made them and lost the recipe!
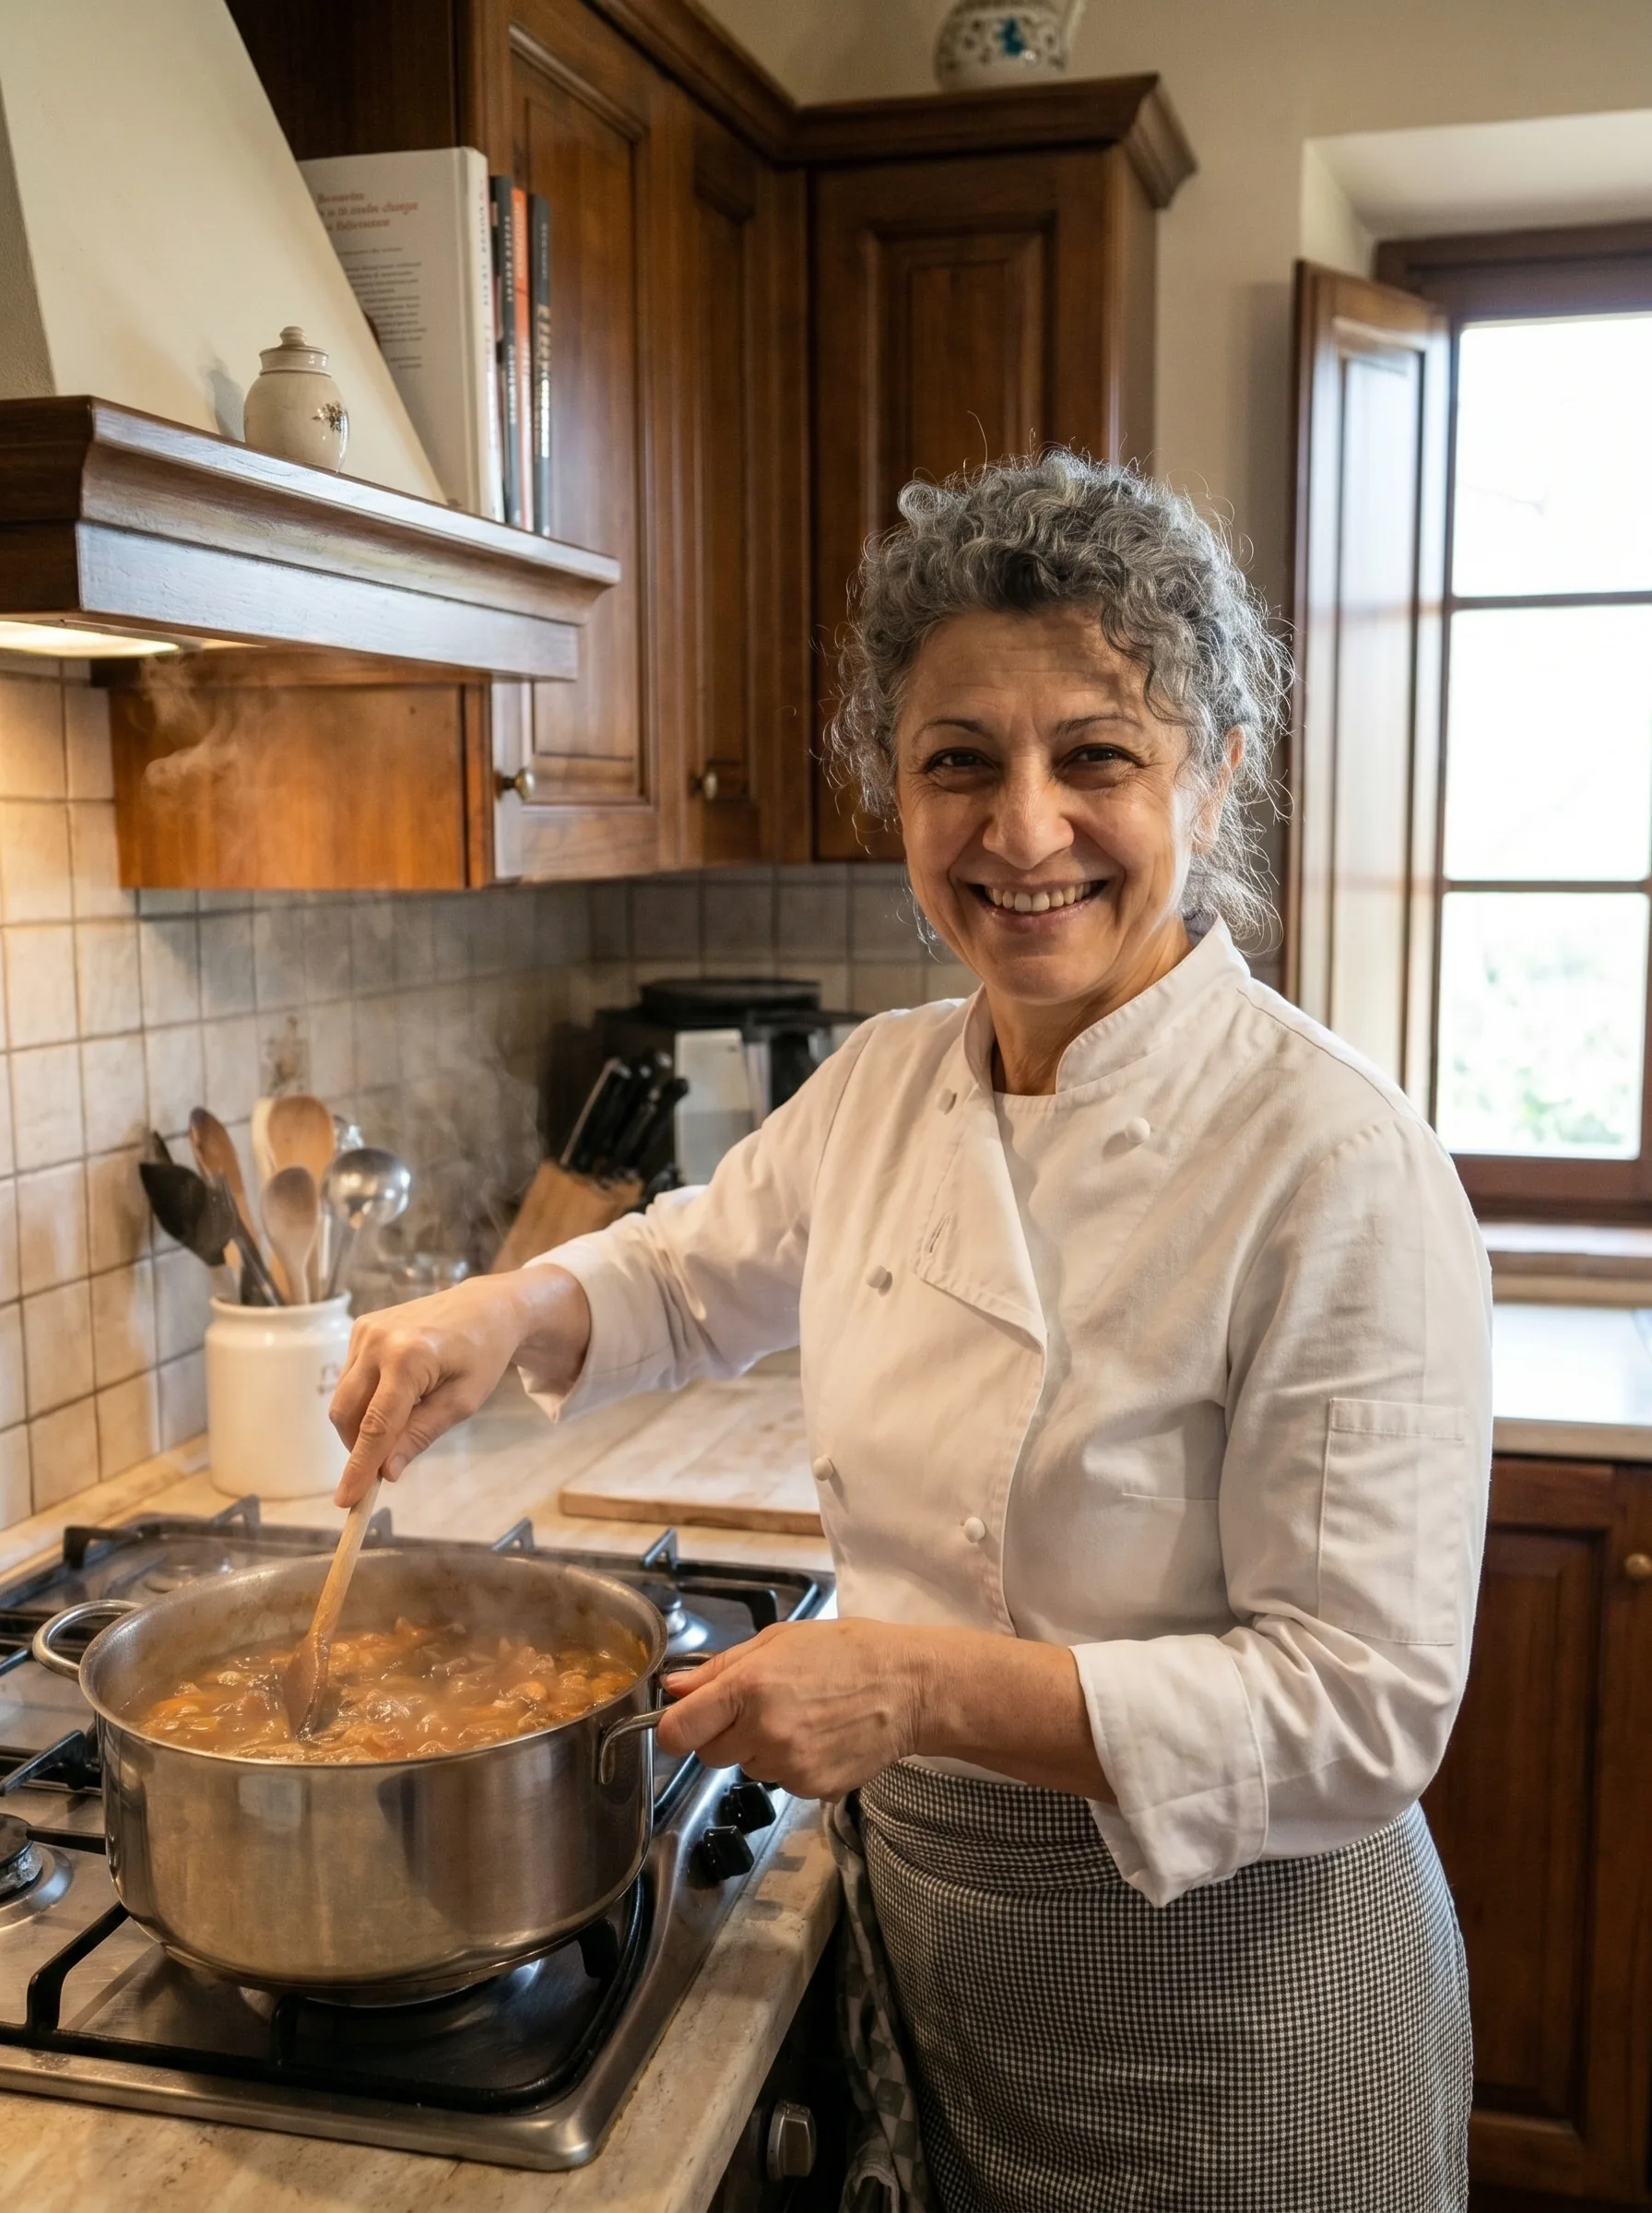
When it comes to nostalgic comfort foods, some recipes just stick with us, don’t they? This delightful dish takes you straight back to those tender moments—bridal teas, school spring celebrations, and even somber goodbyes. The taste and texture are both familiar and comforting, making them perfect for special occasions or a cozy evening at home. With a perfect blend of sweetness and a hint of nostalgia, it’s hard not to find joy in every bite.
Not only are they simple to prepare, but they also evoke a sense of warmth and togetherness. Whether you enjoy them as a light afternoon snack or a sweet addition to your next gathering, you’ll definitely want to keep this prized recipe in your collection.
Why You’ll Love This Recipe
- Evokes fond memories tied to special occasions.
- Simple and straightforward preparation, perfect for cooks at any level.
- Combines comforting sweetness with a delightful texture.
- Great for gatherings, providing a nostalgic touch.
- Easily adaptable to serve larger groups or for different occasions.
- Ingredients are pantry staples, making it easy to whip up anytime.
- Storing leftovers is a breeze, so you can enjoy them for days.
Before You Start
- Gather your ingredients ahead of time and line them up in the order they’ll be used to streamline the cooking process.
- Preheat your oven to the required temperature; this ensures even baking from the start.
- Ensure your baking dish is greased properly to prevent sticking.
- If using dry ingredients, sift them patiently for fluffier results.
- Measure each ingredient accurately; precision can make a significant difference in the outcome.
Ingredients
- 1 cup unsalted butter, softened (softened butter ensures it incorporates easily with sugar)
- 1 cup granulated sugar
- 3 large eggs (room temperature helps with better mixing)
- 1 teaspoon vanilla extract (for added warmth and flavor)
- 1 ½ cups all-purpose flour (the base of your recipe)
- 1 teaspoon baking powder (helps the dish rise)
- ½ teaspoon salt (balances the sweetness)
- 1 cup chopped nuts (optional; walnuts or pecans work wonderfully)
Step-by-Step Instructions
Prep the oven and dish: Start by preheating your oven to 350°F (175°C). While it heats, grease a 9×13-inch baking dish thoroughly with butter or non-stick spray to ensure easy removal later.
Cream the butter and sugar: In a large mixing bowl, combine the softened butter and granulated sugar. Use a hand mixer or a sturdy wooden spoon to mix them together until the mixture becomes light and fluffy, about 3-5 minutes. You’ll notice it changing in color to a pale yellow as air is incorporated.
Add in the eggs and vanilla: Crack the eggs into a separate bowl to avoid shell bits, then add them one by one to the creamed butter and sugar mixture, mixing well after each addition. Finally, pour in the vanilla extract. The mixture will become smoother and slightly more runny.
Combine dry ingredients: In another bowl, whisk together the flour, baking powder, and salt. This helps to evenly distribute the baking powder throughout the flour for even rising.
Mix dry and wet ingredients: Gradually add the flour mixture to the wet ingredients, stirring gently until just combined. Be careful not to overmix, or your dish may turn out dense. The mixture will be thick and slightly sticky.
Fold in the nuts (if using): If you’re adding nuts, this is the time. Gently fold them into the batter, ensuring they’re evenly distributed.
Bake to perfection: Pour the batter into your prepared baking dish, spreading it evenly with a spatula. Place it in the preheated oven and bake for 25-30 minutes. You’ll know it’s ready when a toothpick inserted in the center comes out clean and the top is a lovely golden brown.
Cool and serve: Once baked, remove the dish from the oven and let it sit for about 10-15 minutes. This cooling time allows it to firm up slightly, making it easier to cut into squares.
Expert Tips
- Check your butter: Make sure your butter is softened properly; it should be soft to the touch but not melted. Overly warm butter can lead to greasy results.
- Egg temperature matters: Using eggs at room temperature helps them incorporate better, leading to a smoother batter.
- Don’t skip the nuts: If using nuts, chop them coarsely so you can enjoy their crunch without overwhelming each bite.
- Be cautious with mixing: Overmixing your batter can lead to a chewier texture, so mix just until combined.
- Upgrade with spices: Consider adding a pinch of cinnamon or nutmeg for a warm twist.
- Cutting technique: Let the dish cool thoroughly before cutting; warm bars may crumble.
- Serving suggestion: Drizzle some honey or maple syrup on top for an extra indulgent touch.
- Adjust for sweetness: If you prefer it less sweet, reduce the sugar by a ¼ cup; it still holds its deliciousness.
Easy Variations
- Chocolate chip version: Add in 1 cup of chocolate chips for a sweeter treat.
- Fruit boost: Fold in 1 cup of dried cranberries or raisins for a fruity flavor.
- Zesty twist: Substitute vanilla with almond extract for a lovely nutty essence.
- Coconut delight: Mix in 1 cup of shredded coconut for additional texture.
- Gluten-free option: Replace all-purpose flour with a gluten-free blend to accommodate dietary preferences.
- Miniatures: Bake in muffin tins for individual servings, shortening the baking time to about 15-20 minutes.
- Frosting option: Top with a simple glaze made from powdered sugar and milk for an extra touch of sweetness.
- Savory herbed version: Add herbs such as rosemary or thyme for a savory snack.
What to Serve With It
These delightful squares pair beautifully with a light salad or a cup of herbal tea, making them perfect for your next gathering. For a more substantial meal, consider serving them alongside a hearty soup or stew. Their sweet flavor balances well with savory dishes, creating a satisfying dining experience.
Storage
To keep your leftovers fresh, store them in an airtight container in the refrigerator for up to a week. You can freeze squares for up to three months—just make sure to wrap them tightly in plastic wrap and place them in a freezer-safe container. When you’re ready to enjoy them, let them thaw in the fridge overnight and reheat gently in the microwave or at room temperature.
Frequently Asked Questions
1. How can I tell when the dish is done?
The top will appear golden brown, and a toothpick inserted in the center should come out clean.
2. Can I use salted butter instead?
Yes, but reduce the added salt in the recipe slightly to avoid an overly salty taste.
3. Is there a dairy-free option?
You can substitute the butter with a dairy-free margarine or coconut oil for a lactose-free version.
4. Can I add more than one type of nut?
Absolutely! Feel free to mix different nuts for added flavor and crunch.
5. How do I prevent sticking?
Properly greasing the pan and allowing the bars to cool slightly will help prevent sticking.
6. What if I don’t have baking powder?
You can substitute with an equal amount of baking soda, but you’ll need to add some acid (like vinegar or lemon juice) to help it rise.
7. Can I double the recipe?
Yes, you can double the ingredients, and just be sure to adjust your baking time if using a larger pan.
8. How do I store leftovers?
Keep them in an airtight container in the refrigerator for up to a week or freeze for longer storage.
Final Thoughts
This recipe is not just about the food; it’s a delightful trip down memory lane! I encourage you to give it a try, whether you’re reminiscing or creating new memories with loved ones. Your kitchen is about to fill with wonderful aromas that remind you of simpler times. Enjoy every moment, and happy cooking!