My grandma used to sneak me these when no one was looking. I made them last night and cried after the first bite.
FULL RECIPE BELOW 👇
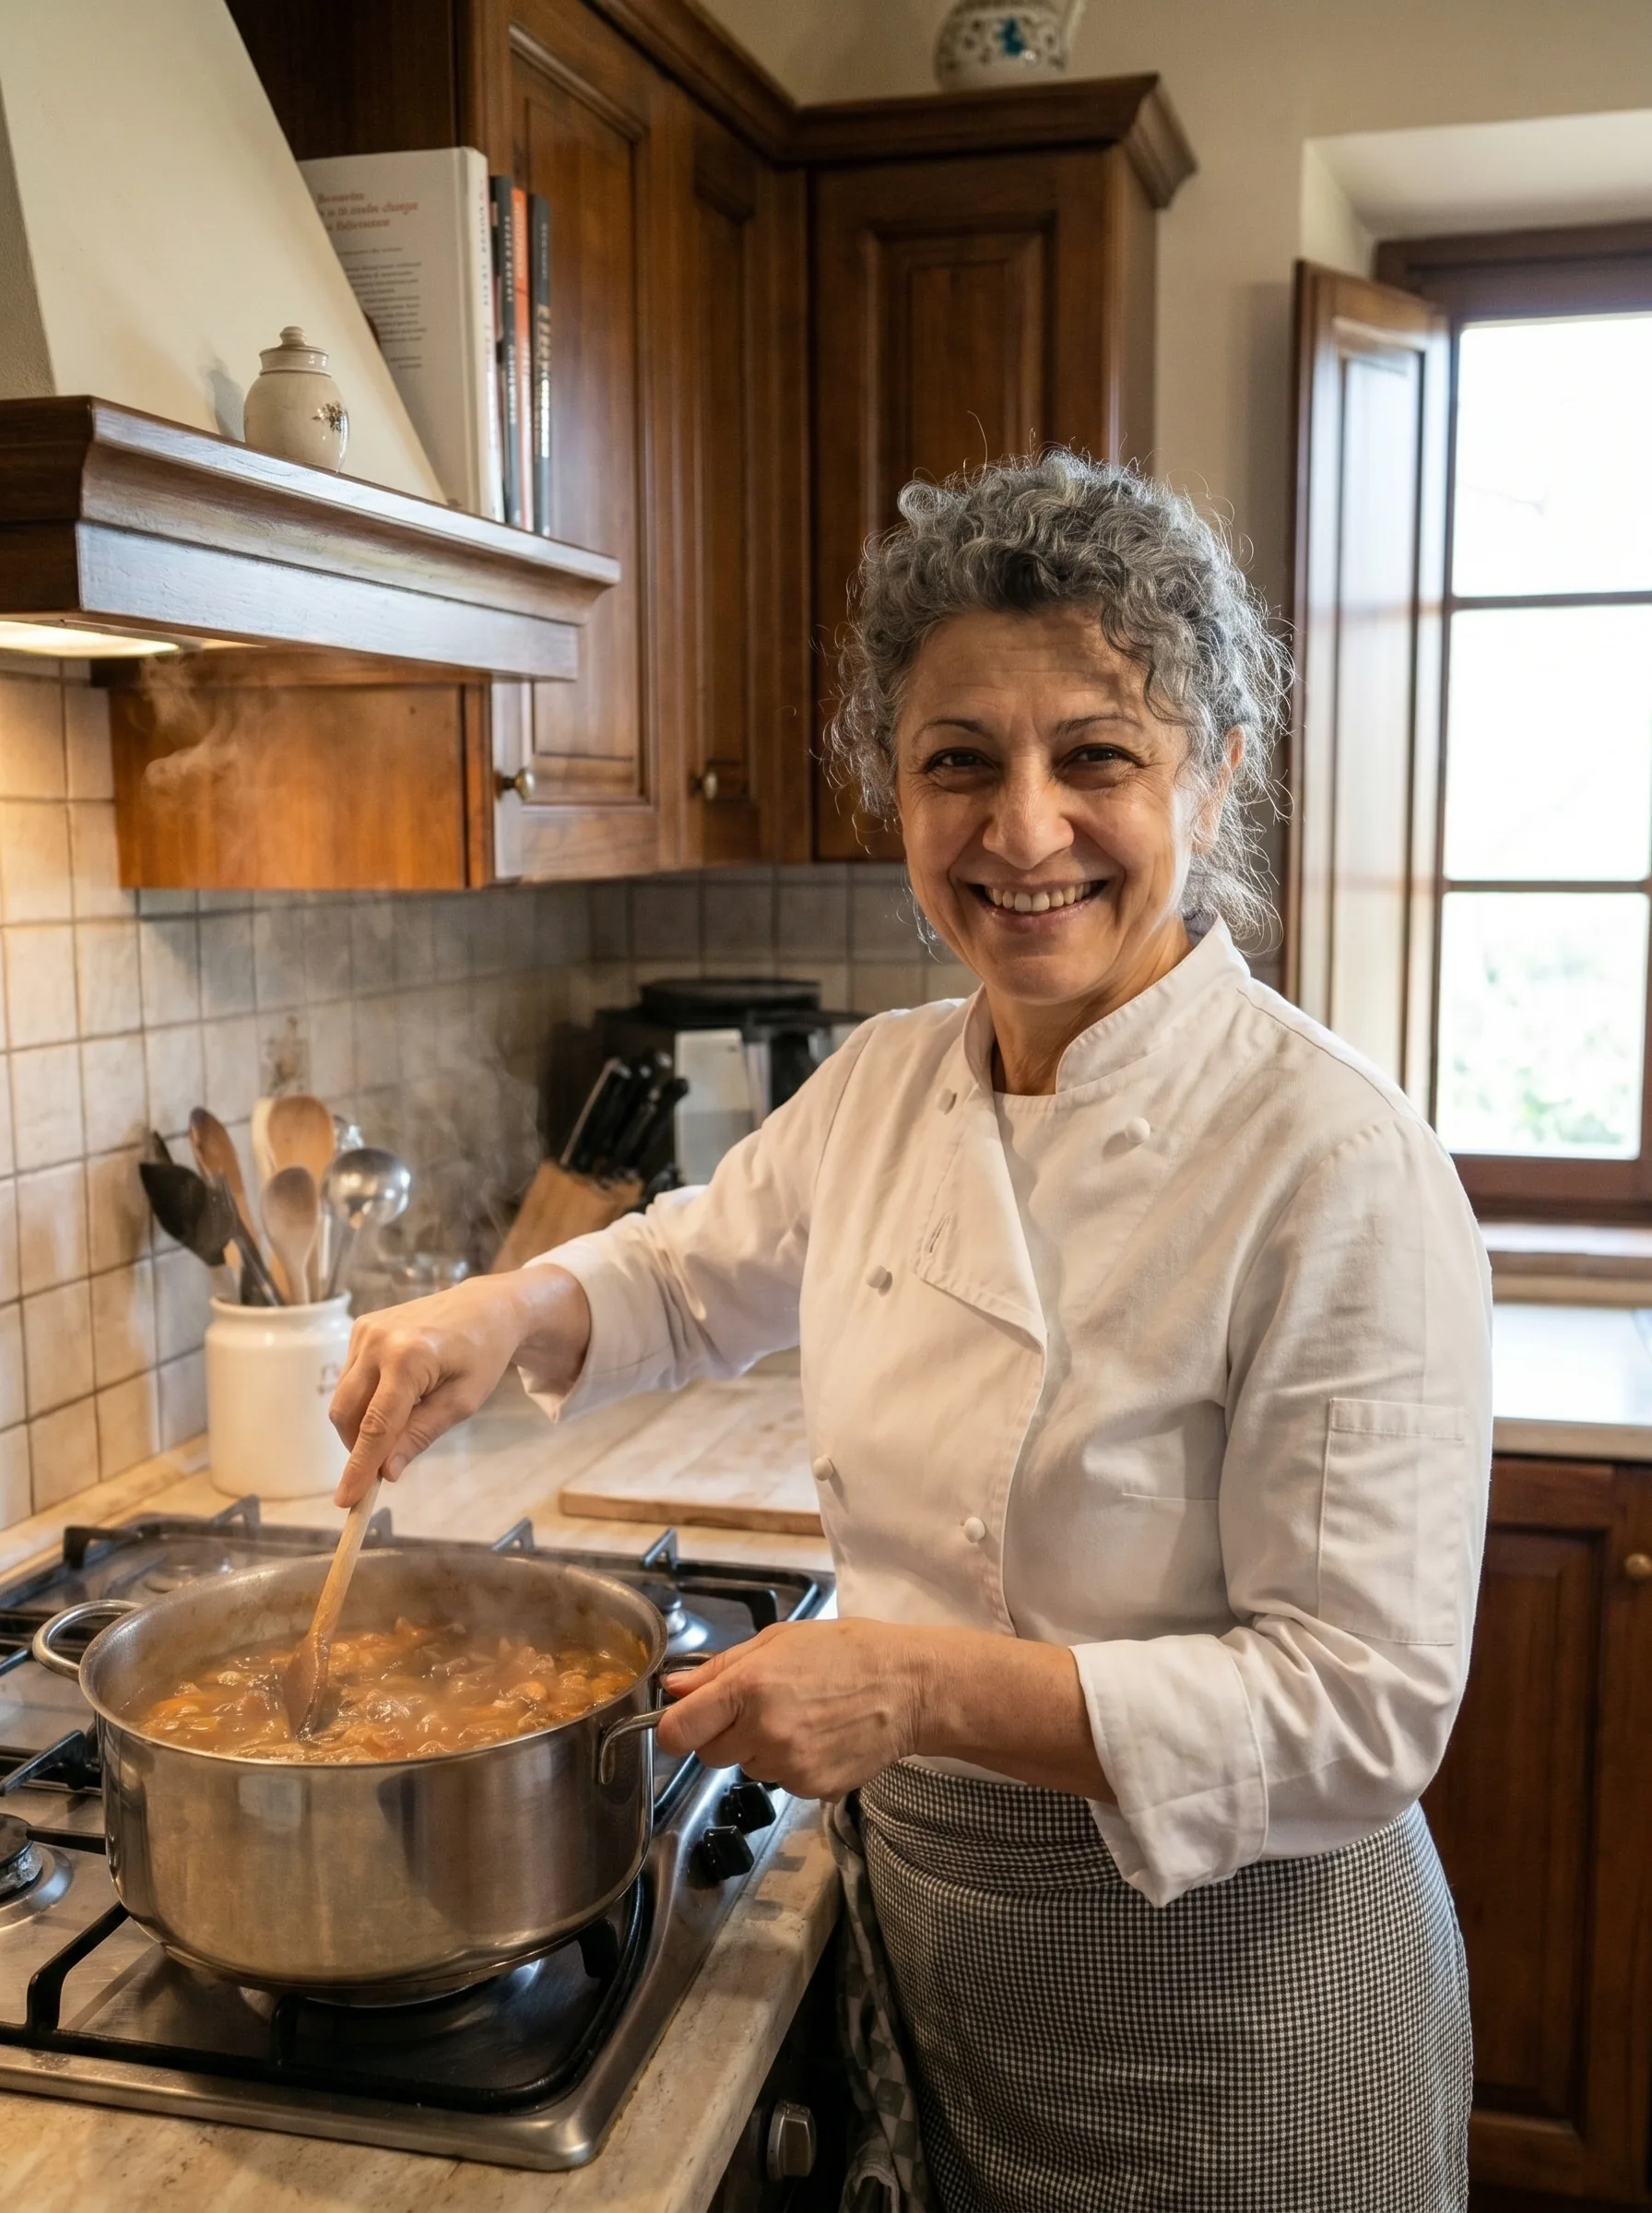
There’s something so special about recipes that carry the warmth of family in every bite. This one has that nostalgic power, reminiscent of sneaky treats shared in quiet moments. It’s perfect for cozy evenings or when you need a bit of comfort food to lift your spirits. Imagine a soft texture paired with a delightful sweetness that warms you up inside. This simple yet delicious recipe will remind you of home, and every bite is a taste of love. Whether you’re making these for yourself or sharing them with loved ones, you’ll find they’re hard to resist—just like I couldn’t resist them as a kid!
Why You’ll Love This Recipe
- Combines simple, readily available ingredients.
- Quick and easy to prepare in under an hour.
- Ideal for family gatherings or cozy nights at home.
- Versatile enough for breakfast, dessert, or a sweet snack.
- Leaves your kitchen smelling wonderful while baking.
- Can be made ahead of time and stored for later enjoyment.
- Perfectly sweet without being overly rich.
Before You Start
- Make sure your butter is softened to room temperature for easy mixing.
- Preheat your oven to the necessary temperature to ensure even baking.
- Have all your ingredients measured and ready to go—this will streamline the process.
- Grease your baking dish well to ensure easy removal of the finished treat.
Ingredients
- 1 cup butter, softened
- 1 cup granulated sugar
- 2 cups all-purpose flour
- 1/2 teaspoon baking powder
- 1/4 teaspoon salt
- 1 teaspoon vanilla extract
- 1/2 cup fruit preserves (your favorite—raspberry or apricot work well)
Helpful Notes:
- Use unsalted butter for better control of your recipe’s salt content.
- Fresh or homemade fruit preserves add a personal touch and richer flavor, but store-bought varieties are perfectly fine too.
Step-by-Step Instructions
Prepare Your Baking Dish: Begin by greasing an 8-inch square baking dish with a little butter or cooking spray. This step is essential to ensure that your finished treat comes out easily without sticking.
Cream the Butter and Sugar: In a mixing bowl, add the softened butter and granulated sugar. Using an electric mixer, beat them together on medium speed until the mixture is light and fluffy. This should take about 3-5 minutes. You want it to be pale in color and quite airy which will give your treat a light texture.
Add Wet Ingredients: Once your butter and sugar are well-combined, mix in the vanilla extract. Continue to beat for another minute until it’s fully integrated. The aroma of the vanilla will fill your kitchen, making it feel even more inviting.
Combine Dry Ingredients: In a separate bowl, whisk together the flour, baking powder, and salt. This step helps ensure that the baking powder is evenly distributed throughout the flour, which is crucial for proper rising.
Mix Dry with Wet Ingredients: Gradually add the flour mixture to the butter-sugar mixture. Stir it in using a spatula or wooden spoon until just combined. Be cautious not to overmix; a few flour streaks left in the batter are perfectly fine at this stage.
Assemble with Fruit Preserves: Spread half of the batter into the prepared baking dish, forming an even layer. Then, carefully spoon the fruit preserves over this layer, spreading them to cover it. Finally, drop spoonfuls of the remaining batter over the top in a rustic manner; it doesn’t need to cover the preserves completely.
Bake: Place the baking dish into your preheated oven and bake for 25-30 minutes. The edges should turn lightly golden, and a toothpick inserted in the center should come out clean or with just a few moist crumbs attached.
Cool and Slice: Once baked, remove the dish from the oven and allow it to cool for at least 10 minutes before slicing. This cooling period helps the treats set properly, making them easier to cut into squares.
Expert Tips
- Room Temperature Butter: Ensure butter is at room temperature for easy creaming; too hard will make it difficult to achieve the desired consistency.
- Don’t Skip the Cooling Time: Allowing the treats to cool fully makes slicing cleaner and helps the texture develop.
- Experiment with Flavors: Feel free to substitute different fruit preserves or add a sprinkle of cinnamon to the dough for warm spice notes.
- Double Check the Oven Temperature: Ovens can vary, so keep an eye on your baking to avoid under or overbaking.
- Use a Plastic Knife for Cutting: This prevents tugging and tearing of your beautifully baked squares.
- Storing Leftovers: If you have any leftovers, store them in an airtight container to retain freshness.
Easy Variations
- Substitute fruit preserves with chocolate hazelnut spread for a rich treat.
- Use lemon curd instead of fruit preserves for a citrusy twist.
- Add chopped nuts like pecans or walnuts to the batter for added texture.
- Incorporate spices like nutmeg or cinnamon for an extra layer of warmth.
- Drizzle with icing made from powdered sugar and milk for a sweet finishing touch.
- Use coconut flakes mixed into the batter for a tropical flavor.
What to Serve With It
These delightful treats are wonderful on their own, but pair nicely with a cup of tea or coffee. Fresh fruit salad can brighten up the plate and offers a refreshing contrast to the sweetness. They also go well with a scoop of vanilla ice cream for a delicious dessert.
Storage
To keep your treats fresh, store them in an airtight container in the refrigerator for up to a week. If you want to save some for later, you can freeze them for up to three months. Just make sure to place parchment paper between layers to prevent sticking. Thaw in the fridge overnight before serving, and if you’d like, give them a quick pop in the microwave for a few seconds for that fresh-out-of-the-oven taste.
Frequently Asked Questions
Can I use margarine instead of butter?
Yes, margarine can be used, but the texture and flavor may differ slightly.Can I make this recipe gluten-free?
Absolutely! Substitute all-purpose flour for a gluten-free blend, and it should work well.What type of fruit preserves work best?
Raspberry and apricot preserves are popular choices, but feel free to experiment with your favorites!How do I know when they’re done baking?
Check for golden edges and a toothpick inserted in the center should come out clean.Can I double the recipe?
Yes, doubling works well! Just use a larger baking dish and adjust baking time as necessary.Can I incorporate chocolate into this recipe?
Certainly! Adding chocolate chips into the batter can create a delightful addition.How do I prevent the treats from sticking to the pan?
Ensure your baking dish is thoroughly greased before adding the batter.What should I do with leftovers?
Store leftovers in an airtight container in the fridge or freeze them for later.
Final Thoughts
I hope you’re as excited to try this recipe as I was to share it. There’s a lovely simplicity in the flavors that brings back cherished memories. Whether you’re baking for yourself or sharing these delights, I encourage you to give this a go. Enjoy every sweet, nostalgic bite!